Overview of Sod
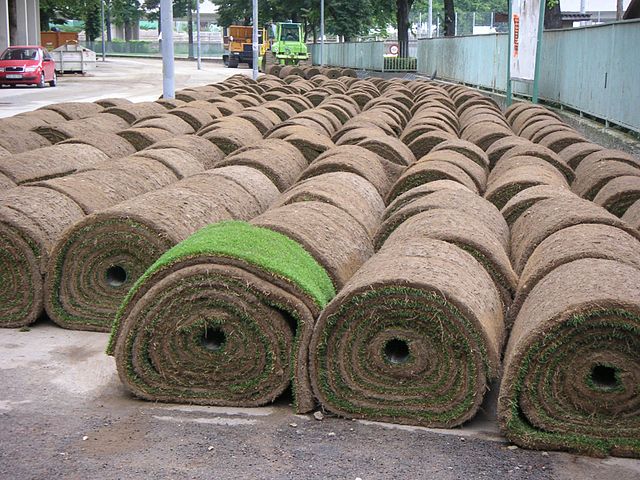
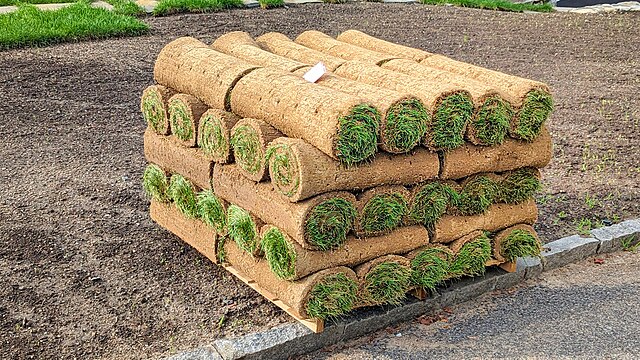
Sod is essentially pre-grown grass that is cultivated and harvested in rolls or slabs by professional growers. Each roll contains a layer of soil and mature grass that has been carefully nurtured to create a dense, healthy lawn covering. This ready-made grass solution is designed to offer an instant lawn by transferring mature turf complete with roots from the farm directly to your garden. It is especially convenient for rapid lawn establishment and is a popular choice among homeowners and landscapers for its quick and reliable results. You may also here turf used as a synonym for sod throughout this article and elsewhere in the landscaping industry.
Opting for large sheets of turf over seeding has several compelling advantages. Primarily, sod offers an immediate aesthetic transformation; it’s like rolling out a green carpet, providing an instantly lush lawn. It significantly reduces the time taken for establishing a mature lawn from scratch. Sod also helps in controlling erosion, as its mature roots provide an immediate stabilizing effect on the soil.
It’s also less vulnerable to weed invasion compared to newly seeded lawns, thanks to its dense growth that leaves little room for unwanted plants. Additionally, sod can be installed virtually any time during the growing season, not limited by the narrow seeding windows. For residents in Denton, TX, sod is an effective way to beat the heat, as it requires less irrigation than seeding during establishment.
The sod installation process entails several key steps to ensure successful establishment and longevity of the lawn. It starts with the crucial phase of ground preparation, which involves clearing the area of weeds and debris, improving the soil quality, and leveling the ground. After the ground is prepared, the sod must be delivered promptly to prevent drying out and must be laid down as soon as possible. The rolls or slabs of sod are placed tightly together on the soil in a staggered brick-like pattern, with edges fitted snugly to avoid gaps. After installation, the sod needs to be pressed firmly into the soil to ensure good contact and then watered generously to encourage root establishment. Initial aftercare is crucial and involves regular watering and avoiding foot traffic to allow the sod to take root in its new home effectively.

Tips for Before Installation
Start by accurately measuring the area where you intend to lay the sod. You’ll need to calculate the square footage to determine how much sod is required. To do this, measure the length and width of the space and multiply them together. If your lawn is an irregular shape, try dividing it into smaller squares or triangles, calculate the area of each, and then add them together for the total. Once you’ve calculated your lawn’s area, order your sod. It’s advisable to add an additional 5-10% to your order to account for cutting and fitting around curves and edges. This will ensure you have enough sod to cover the entire lawn without any gaps.
Select a sod variety that can withstand this climate, such as Bermuda, Zoysia, or St. Augustine. These varieties are heat-tolerant and can handle occasional droughts common to the area.
Essential tools include a tiller, rake, lawn roller, shovel, utility knife for cutting the sod, and a wheelbarrow to transport the sod and soil amendments.
Ground Preparation
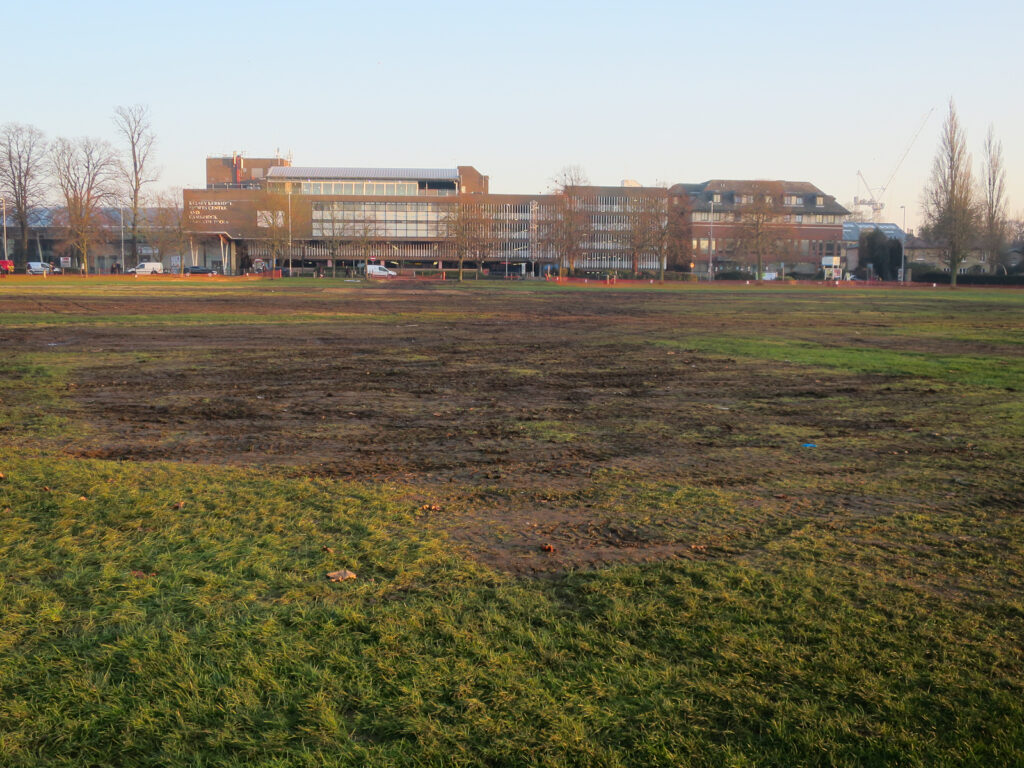
- Remove all existing grass, weeds, stones, and debris from the site. This can be done using a sod cutter or a spade. You want to start with a clean slate to prevent any old vegetation from competing with your new sod. You also want to determine the pH and nutrient levels with a soil test. Based on the results, you may need to amend the soil to create the optimal growing environment for your sod.
- Use a tiller to loosen the top 6-8 inches of soil. This will promote root penetration and improve drainage. After tilling, grade the area. Ensure the soil slopes away from buildings to prevent water accumulation near foundations. Rake the soil to a smooth, level surface, breaking up any large clumps and removing any remaining debris.
- If the existing soil is poor, adding a layer of rich topsoil or compost can significantly improve the soil quality. This new layer should be integrated with the native soil through additional tilling, creating a seamless, fertile base for your new sod.
Once these preparations have been complete, your lawn is ready for the sod to be installed.
Sod Installation
- Start with Straight Lines: Begin the sod installation along a straight line using a driveway or sidewalk as a guide to ensure the rows are aligned correctly.
- Techniques for Laying Sod Strips:
- Lay sod strips end to end, making sure each piece is firmly pressed to the soil to eliminate air pockets and encourage root contact.
- Stagger the joints in a brick-like pattern for stability and aesthetic appeal.
- Fitting Sod Around Curves and Obstacles:
- Trim sod pieces to fit neatly around curves, trees, and garden beds using a sharp knife or shears.
- Cutting Sod for a Precise Fit:
- Measure and cut sod while it is placed next to the area it will fill, ensuring accuracy like fitting a puzzle piece.
- Ensuring Tight Seams Between Sod Pieces:
- Place adjoining sod pieces tightly together without overlapping or leaving gaps to prevent uneven growth and visible seams.
Post Installation Normal Maintenance
- Immediate watering is crucial after installing new sod. It helps to establish a strong root system by ensuring that the roots have sufficient moisture to begin integrating with the underlying soil. Begin watering the sod within 30 minutes of installation, soaking it thoroughly to saturate the soil beneath.
- For the first week, water the sod at least twice a day—early morning and late afternoon—keeping the sod consistently moist. From the second week, reduce watering to once a day. By the third week, you can taper off to watering every other day. Ensure the sod has established a good root system before reducing the watering frequency. The goal is to gradually encourage the sod’s roots to seek moisture deeper in the soil, which promotes a healthier, more drought-resistant lawn.
- The first mowing should occur once the sod has rooted into the soil, typically about two to three weeks after installation. Ensure that your lawn mower blades are sharp and set to a high setting to avoid cutting the grass too short, which can stress the new grass. Mow only when the sod is dry to prevent pulling up the sod with the mower’s movement.
- As the sod matures, adjust your watering practices to encourage deeper root growth. Water less frequently but more deeply, promoting drought tolerance and deeper root systems. This can mean watering once a week with enough water to penetrate several inches into the soil.
- Fertilize the new sod about four to six weeks after installation, using a starter fertilizer that promotes root growth rather than rapid leaf development. Continue with regular feedings according to the needs of the specific grass type, typically every six to eight weeks during the growing season.
Troubleshooting Common Sod Installation Issues

Even with meticulous planning and care, sod installation can sometimes encounter problems. Here’s a guide to help identify and resolve some of the most common issues faced during and after sod installation.
- Yellowing or Browning of Sod:
- Cause: Insufficient watering, over-fertilization, or a lack of nutrients.
- Solution: Increase watering if the sod is dry. If over-fertilized, water more frequently to flush out excess nutrients. Conduct a soil test to determine if specific nutrient deficiencies need to be addressed and adjust fertilization accordingly.
- Sod Not Rooting:
- Cause: Poor soil contact, inadequate watering, or laying sod on overly compacted soil.
- Solution: Ensure that the sod is in firm contact with the soil beneath; you might need to roll the sod after installation to improve contact. Review your watering schedule to ensure deep, sufficient watering that encourages roots to grow into the underlying soil. Aerate the soil if it’s too compacted before laying new sod.
- Edges Drying Out:
- Cause: Edges of sod rolls or pieces are more exposed and tend to dry out faster.
- Solution: Increase watering specifically around the edges and check frequently for dryness. Applying a thin layer of topsoil can also help retain moisture.
- Gaps Between Sod Strips:
- Cause: Shrinkage from drying out or improper installation.
- Solution: Sod strips should be tightly butted against each other without overlapping or leaving gaps. If gaps appear post-installation, top-dress these areas with a mix of soil and sand to encourage grass to grow and fill in the gaps.
- Uneven Growth:
- Cause: Variable soil conditions, inconsistent watering, or shade.
- Solution: Ensure uniform soil preparation across the area and adjust watering practices to ensure all parts receive adequate moisture. For shaded areas, consider trimming tree branches to increase sunlight exposure or choosing a shade-tolerant sod variety.
- Mushy Spots and Fungal Growth:
- Cause: Overwatering or poor drainage.
- Solution: Reduce watering and improve drainage. Aerating the area might also help. If fungal disease is present, treat with an appropriate fungicide and adjust watering to prevent recurrence.
- Weed Invasion:
- Cause: Existing weed seeds in the soil or new weeds blowing in.
- Solution: Maintain a healthy, dense lawn to choke out weeds, and apply pre-emergent herbicides if necessary. Regularly inspect and manually remove weeds before they establish.

